|
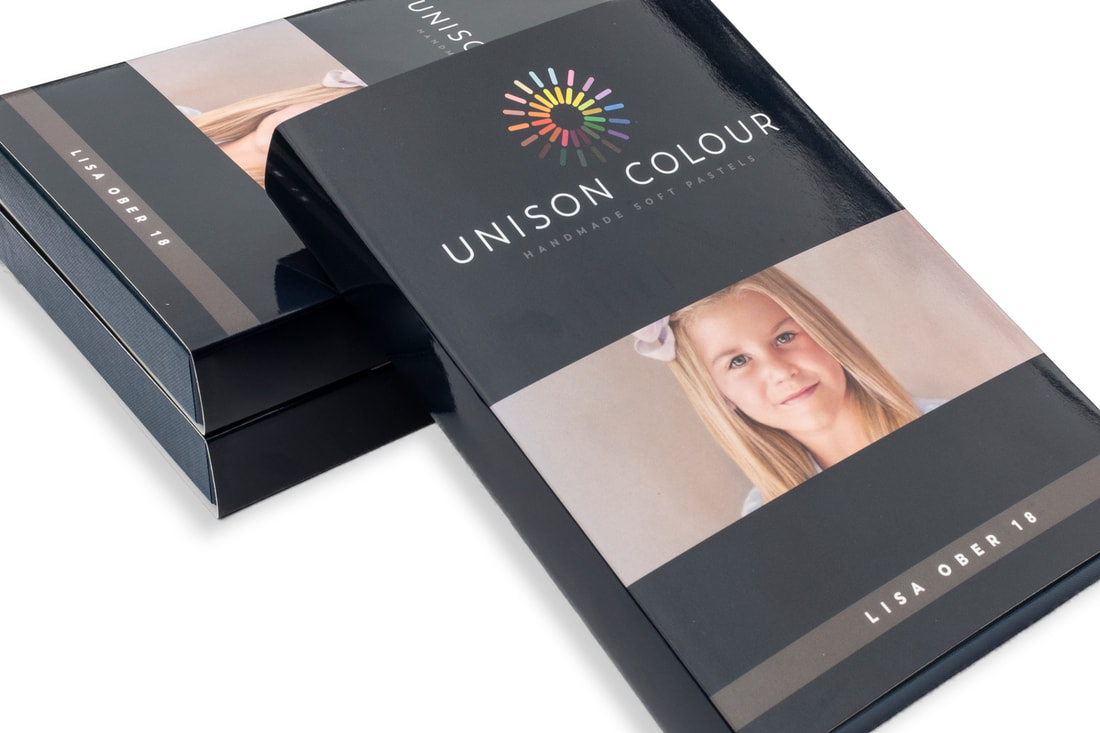
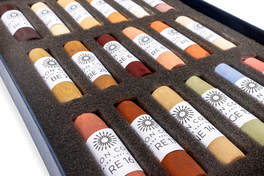
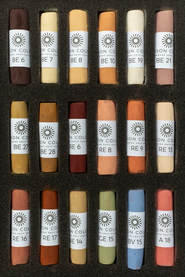
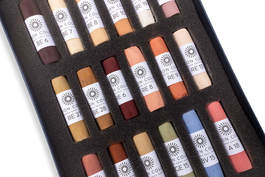
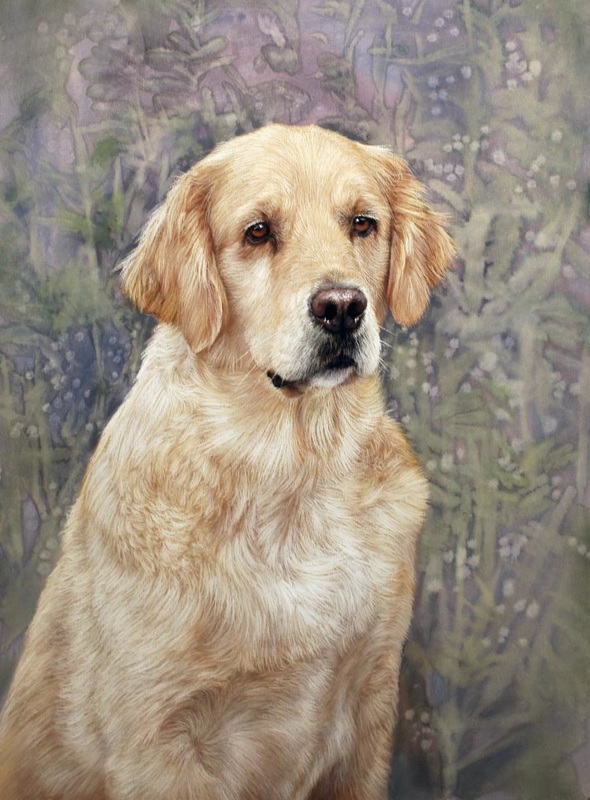
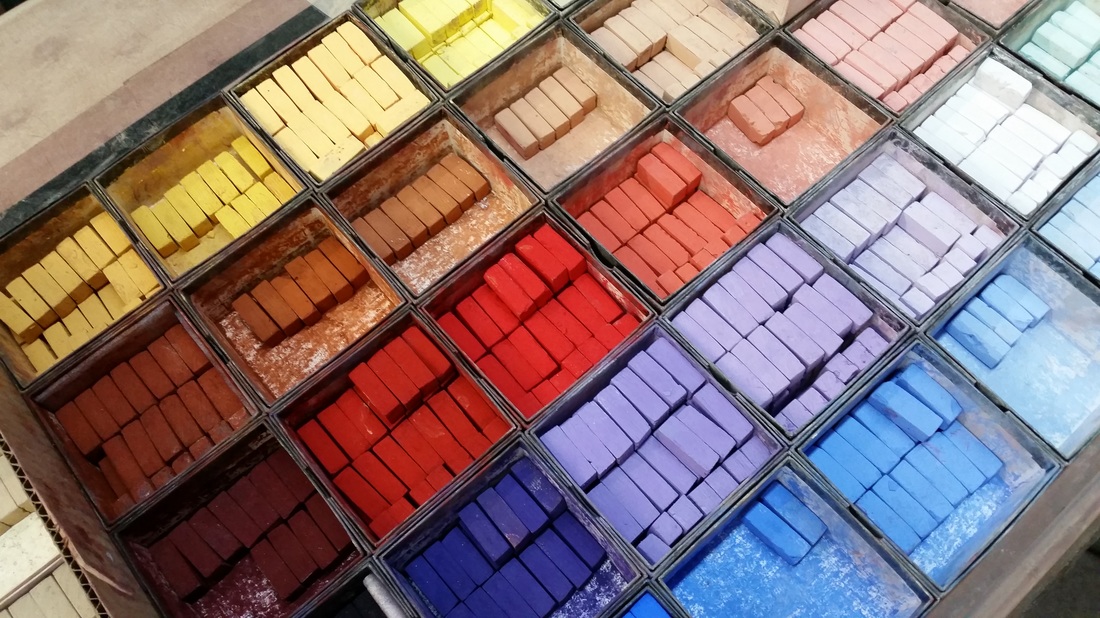
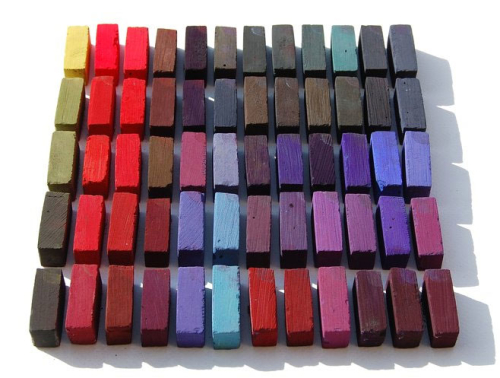
"We are delighted to be able to bring out the Lisa Ober Portrait set, which is a beautiful mix of colours. Lisa's work is extraordinary, and shows what can be done with the medium of pastel. It has been a wonderful process collaborating with Lisa, and we hope that you enjoy using the set as much as we have in creating it." Dan Hersey, Unison Colour IT'S HERE! I am so excited I finally share my excitement about the Unison Colour Lisa Ober 18 Portrait Set! It took months and a hunt through a huge number of colorful Unison pastels to arrive at the final set of 18 outstanding portrait colors...and I am thrilled with the final collection. I wanted the set to contain the colors I use most often in my own work, colors that will be the most helpful to seasoned professionals as well as aspiring artists. This set contains the foundational colors portrait artists can incorporate into their own sets to create realistic and accurate skin tones, and is the perfect set for someone just starting their portrait-painting journey.
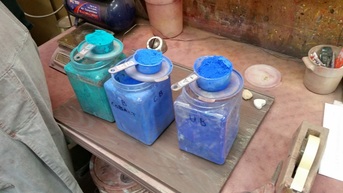
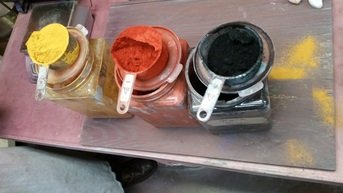
The quality of Unison Colour Pastels is unsurpassed. Handmade in Northumberland, UK, these sticks of nearly pure color have been a staple in my pastel set for many years. Their attention to quality and detail is why they are loved and used by so many professional artists worldwide. Each pastel is rich in color so it can be layered many times, soft and blendable, and works well with other pastel brands. I am grateful for the privilege of working with the team at Unison and proud to be associated with this fine company.
Own this set? Please let me know what you think about the LISA OBER 18 Portrait Set! I'd love to see how you use these pastels in your own work or hear about your favorite colors.
0 Comments
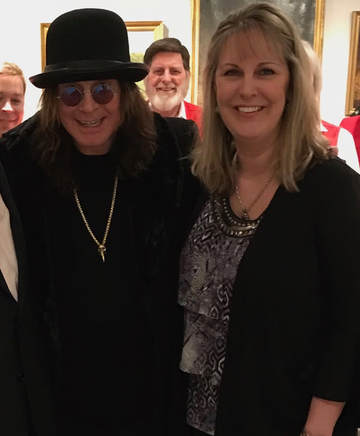
Simple. It was on their calendarsArtist, Lisa Ober woke up in Seattle, taught the last day of her workshop then flew home and spent the afternoon with the Prince of Darkness at the AKC Museum of the Dog.
A Once in a Lifetime Commission (Adventure)Lisa explained that the "the ultimate unveiling of the portrait was a surprise from Ozzy's son Jack, so she had to keep everything a secret while she worked with Jack on particulars. "That was difficult. 'You mean I can't tell anyone that I have the honor of painting one of the world's most well known personalities?' Nope!" "The painting was an artistic and technical challenge. I'll tell you about that someday. I completed the portrait, made arrangements to have it framed and wrapped by my friends at Cioci's Picture Mart, and it was delivered for the show's taping. Then I headed out of town to teach." You'd think that might be the end of the great adventure, but it wasn't! Lisa was invited to attend the taping and unveiling of the portrait which was scheduled for her return date. (Sorry, painting can no longer be shown on this site.)
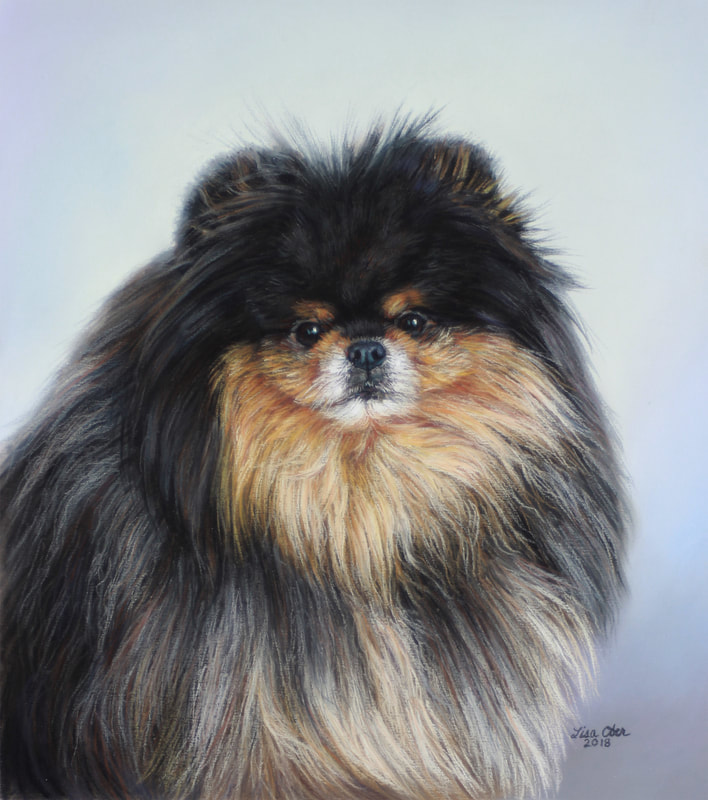
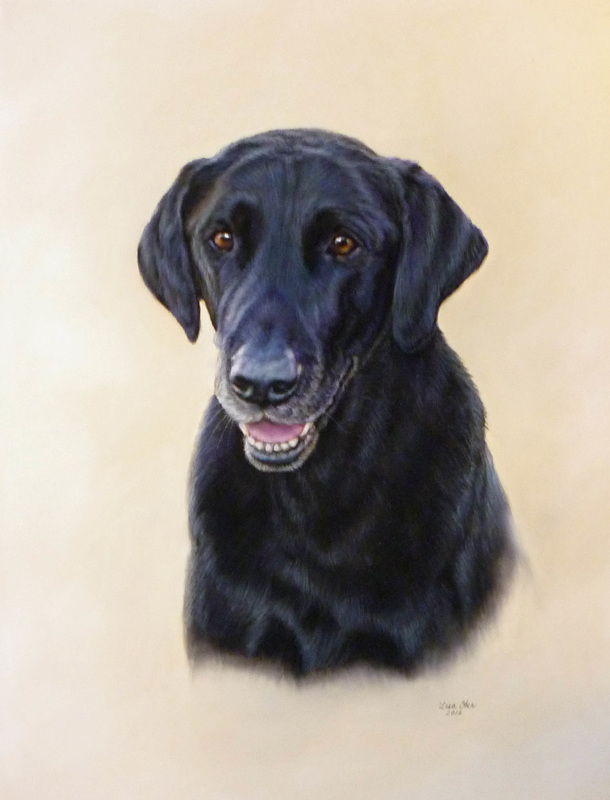
Do You Love Your Dog as Much as Ozzy Loves Rocky?Commission your pet's portrait by Lisa and you'll have something in common with the Prince of Darkness! Call Lisa at 636-362-6152
My talented friend Gail Sibley has a wonderful blog called How To Pastel. She asked if I would join her as a guest blogger and I was thrilled. Her site contains a wealth of information about painting with pastels. Please check it out at Howtopastel.com.
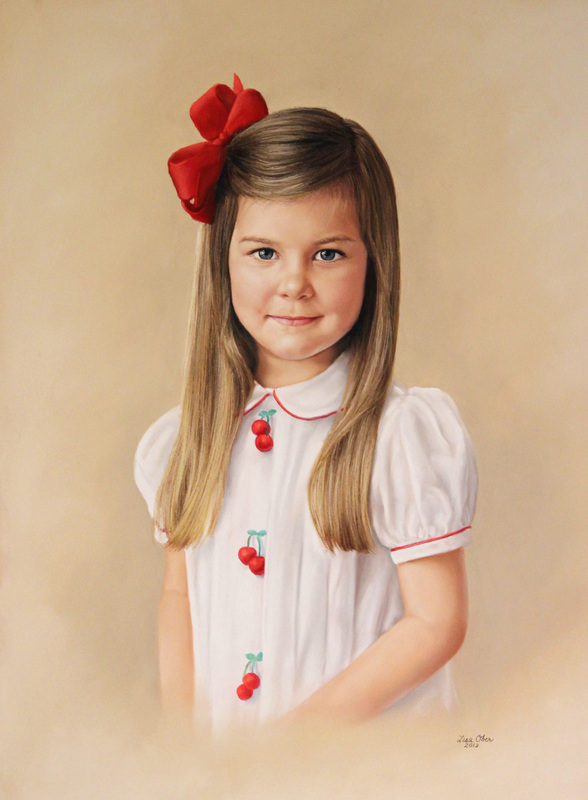
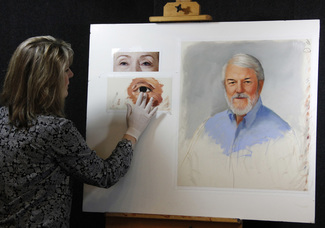
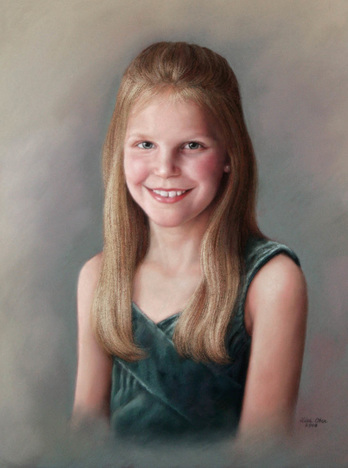
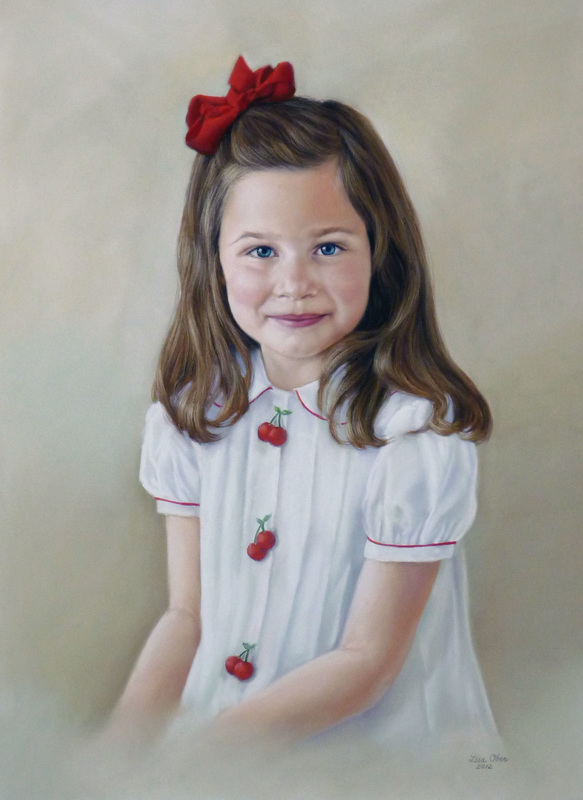
Here is a little excerpt of the article followed by a link to the rest of it. Portrait of an Artist - Lisa Ober I build and work my business in much the same way I build a portrait, from rough sketch to completion. Like most artists, my days aren’t entirely filled with painting but rather with other business-related tasks like planning, computer tasks, client meetings, networking opportunities, and sometimes teaching workshops. Decades ago as a young person dreaming of having a career doing something I loved, I never would have guessed I would wear so many hats: artist, mentor, workshop teacher, gallery owner, marketer, sales person, social media court jester (not queen), graphic designer, web designer, photo editor, and computer tech. And I’m leaving out attention to spouse and kids, friends and family, and most of the gallery work I do because if I included those responsibilities I’d have to write a book instead of a blog post. Join me as I “paint” a portrait of this artist. You may learn a little about how I paint (if you look at the progress shots of the little girl’s portrait at each stage), and you might just see yourself in the word-painting I create of myself. Click HERE to read more at the website, How to Pastel. Let me know what you think! You may have noticed, but in case you have never visited before I feel compelled to let you know I am working on my website. It is a work in progress and I thank you for your patience! In the meantime, HAPPY 2017!
VIDEO! I'm pretty excited to have finally started working with video! My first attempt was a simple time-lapse (below) of the pastel portrait process. As time goes on I will be adding additional time-lapse videos, painting tips and tricks, short demos and eventually plan to have a video course. You are invited to subscribe to my YouTube Channel so you can be the first to see new videos as they are added. You can subscribe HERE. I'd love to hear what you think!
Ten Things I've Learned as a Professional Artist --Part TwoAs a professional artist for the past three decades I've learned a few things. I've made many mistakes but I've also tried some things that worked well. In PART ONE of this series I covered the first five things I've learned. Part Two will cover the rest - plus a bonus tip.
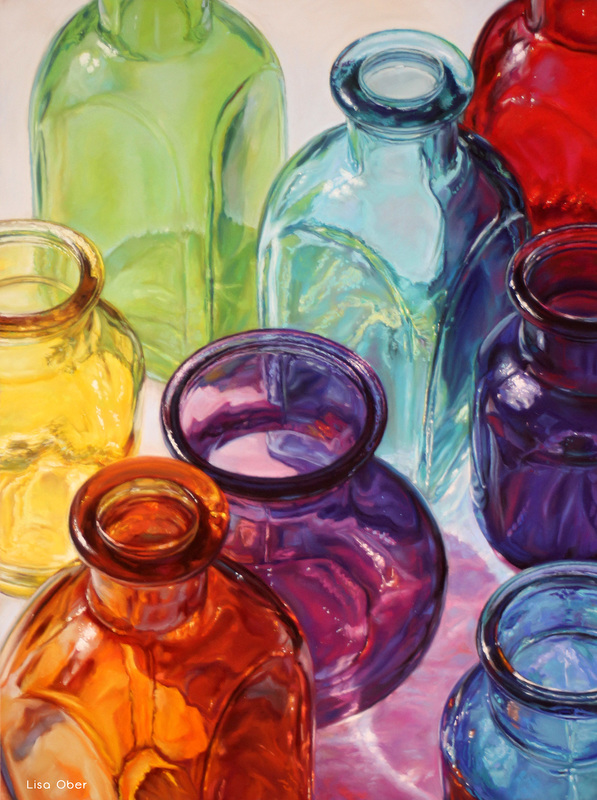
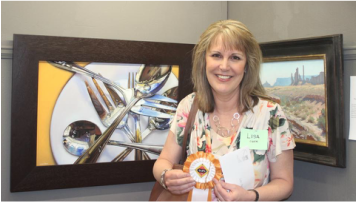
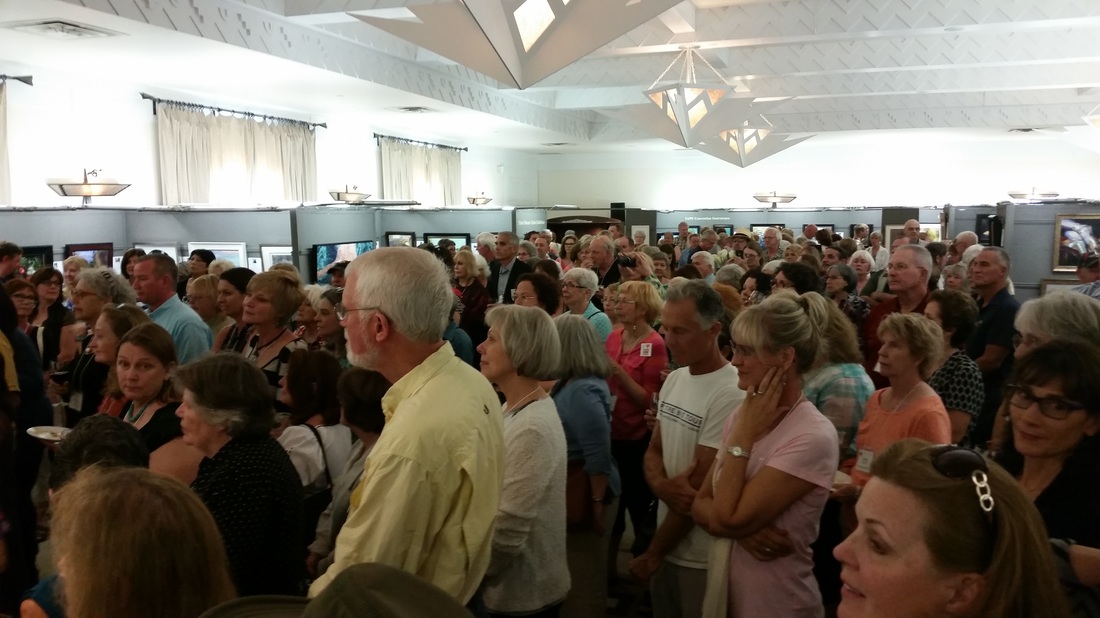
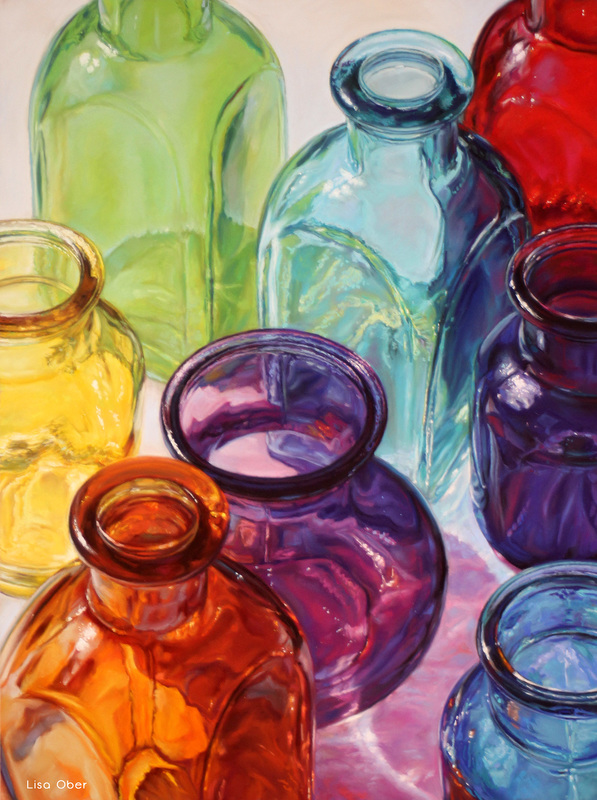
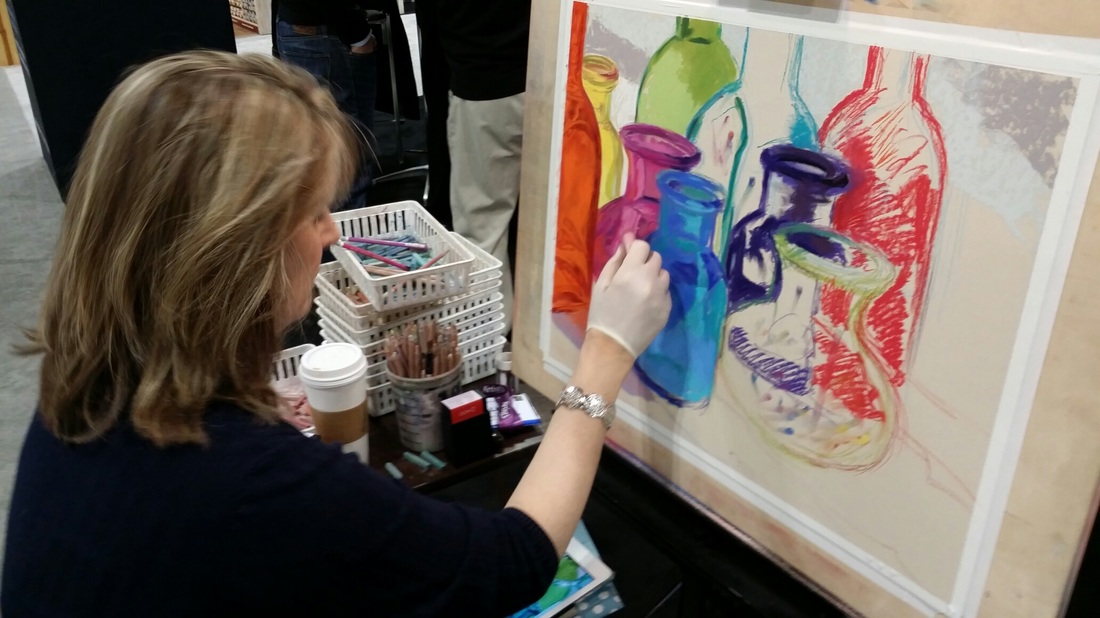
5. Arrogance and Confidence are two different things. Speak confidently about your art and what you're trying to achieve. Your work is YOUR vision. Don't apologize for your creativity or the way you approach your art. Know your subject, know your materials, know your art's purpose and message, but be kind in sharing this information. Remember that your clients and potential customers may not be familiar with all your artsy terminology. It's easy to explain what you do and the materials you use without insulting the intelligence of those with whom you are trying to build a business relationship. Who wants to own a piece of art created by a pompous artist? Yes, there are always artists with flair and attitude but the successful "artsy" artists are usually just quirky and confident, not arrogant. 4. Be generous with the things you've learned, and don't be afraid to share tips with newer artists. In this business your generosity will go a long way. I have heard too many people grumble about sharing tips and tricks with other artists and it makes me sad. You are not creating your competition but rather lending a helping hand, saving someone interested in your approach some time, and making the world a better place. Many generous people have taught me things. It's likely someone has taught you a few things as well. After all, no one will do what you do in the same way, so why not spread the joy? Inspire the next great artist! 3. Have a sense of integrity and a sense of urgency with regard to your business practices. Answer emails in a timely manner. Don't cancel appointments. Your reputation will be very important to your collectors, as well as other artists and gallery owners. We all miss emails from time to time as we rely on technology to communicate. And we are fragile creatures so we are all susceptible to illnesses that may require us to reschedule an appointment. Honest mistakes happen and schedule conflicts occur, but strive to treat potential clients as you would like to be treated. If I had a dollar for every home improvement person who didn't show up when they promised, I'd be... 2. Quality Materials are directly related to the quality of art that you produce. If you're using student grade supplies as a professional to cut corners, please purchase artist's quality materials as soon as you can. Even if it means buying a couple pieces at a time, it will be worth it. I learned this rather late in my career and was astounded at the difference great materials made in my work! I get a little tear in my eye when I think of the years of struggle with paints and pastels that were lacking in quality. Go for the good stuff! 1. There is no substitute for hard work, discipline, and the time spent trying new things. Blah, blah, blah. I know. I've heard it my whole life and read it a thousand times. I tried for years to avoid it. There is NO magic secret to making a living as an artist. Just lots of trial and error, and practice, practice, practice. I frequently meet artists who wonder why they aren't "breaking through" to some recognition or to selling their work-only to discover they paint for four hours a week (if that). Would you go to a doctor who studied medicine for four hours a week? I hope not. Bonus! Here's my bonus tip. This one thing completely changed the course of my art career in the best of ways and I don't think I am the only one who avoided doing it. Get over your fear of public speaking. That's right. Don't be afraid to speak to groups. Speaking engagements are great opportunities to share your art, your expertise, and your enthusiasm for what you do! If necessary, work your way up from practicing a talk for your dog, your family, or to smaller groups of people. You won't be sorry if you get comfortable talking. I assure you it is true that it's easy to talk about things you know and understand. Piece of cake! You know YOU and your art better than anyone else. You're an expert! Confession. I didn't just fear public speaking. I dreaded it. The thought of speaking to a group of over three people used to make me want to vomit. Seriously. If you know me, you may be stunned to read this admission because one on one you can't shut me up. A little over a decade ago an opportunity came along that I could not pass, a speaking opportunity that helped to move my career in a positive direction. It horrified me to say no to the invitation and it horrified me to say yes…until I did say yes and began speaking. I discovered that not only was it less than vomit-producing but it can be fun! People are truly forgiving, thankfully. Many of us can relate to nerves and the fear of hearing yourself through a speaker system (and I do not have a singsongy voice). Just carry a bucket and give it a shot! Okay, I hope you don't need the bucket but you get the point. So there you are. I hope these tips have been helpful. Now it's your turn. What are some things you've learned as a professional artist? What things would you tell a new artist? Let me know in the comments! Update: In my original post I neglected to mention Toast Masters, a wonderful organization that helps empower people to be effective speakers. Thank you to a friend who sent me a note to remind me. Albuquerque, New MexicoMy pastel painting Blue Vases received the Bronze Award at the IAPS Pastel World Competition in Albuquerque, New Mexico this June. What a great way to start my first IAPS convention.
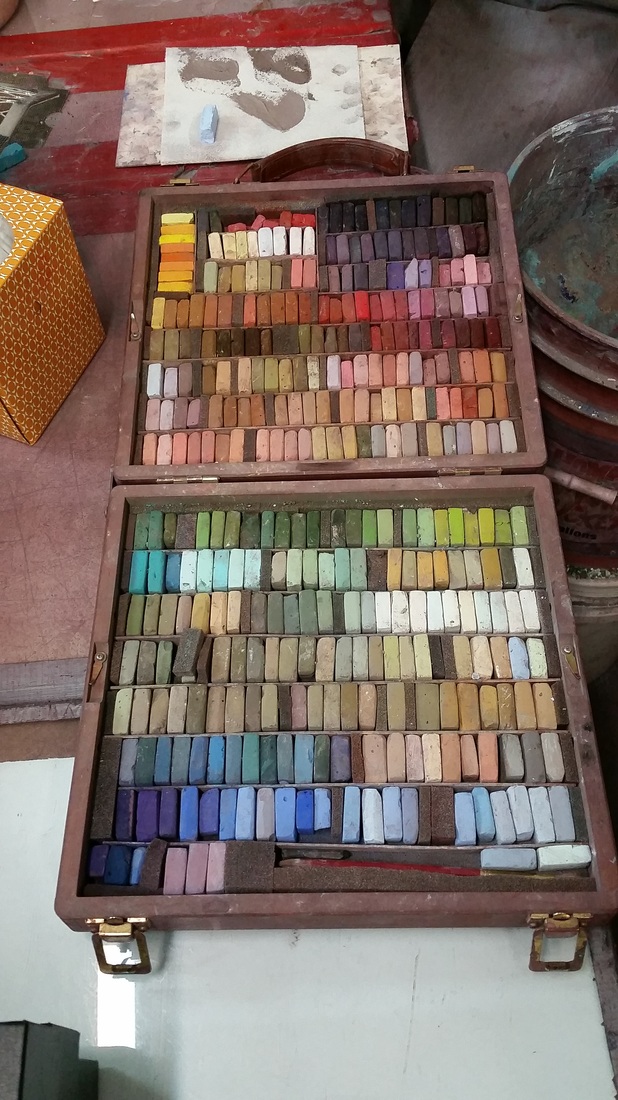
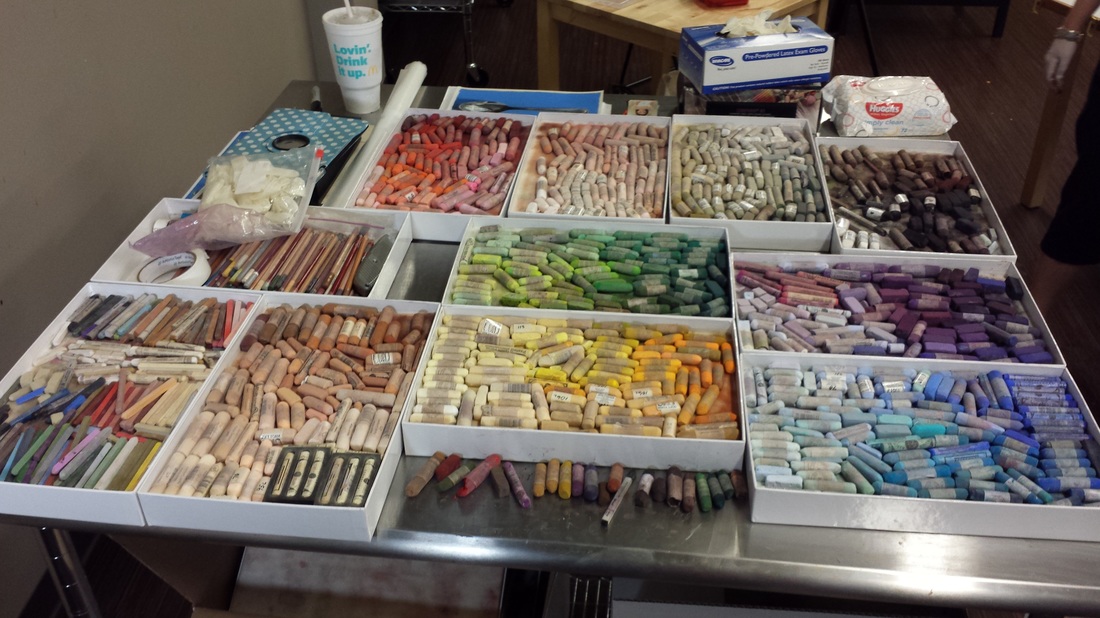
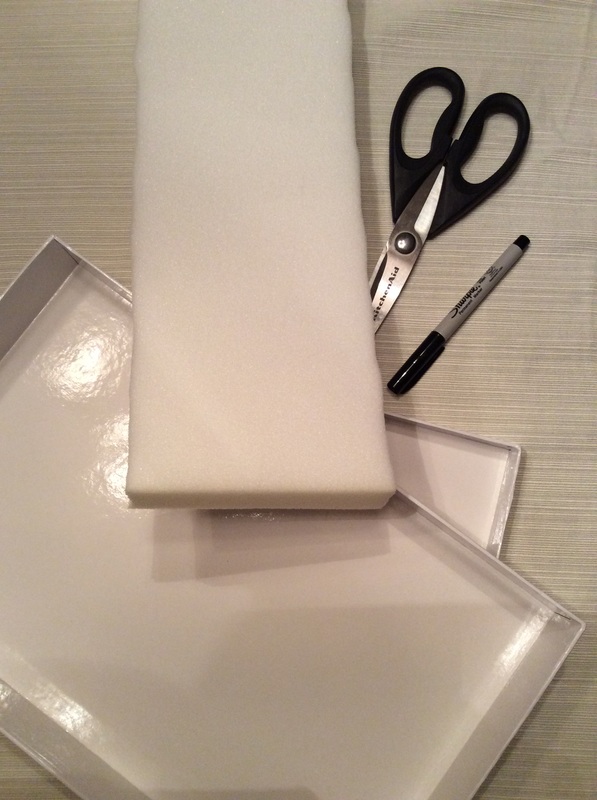
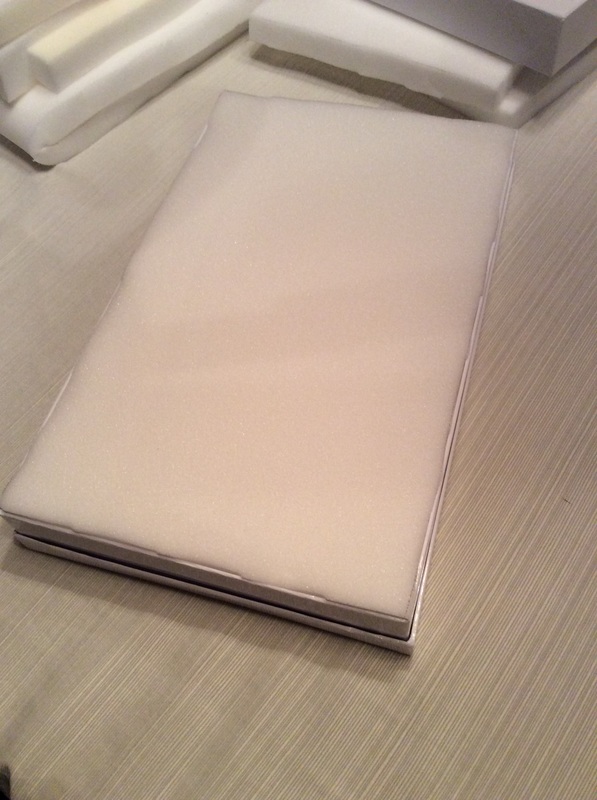
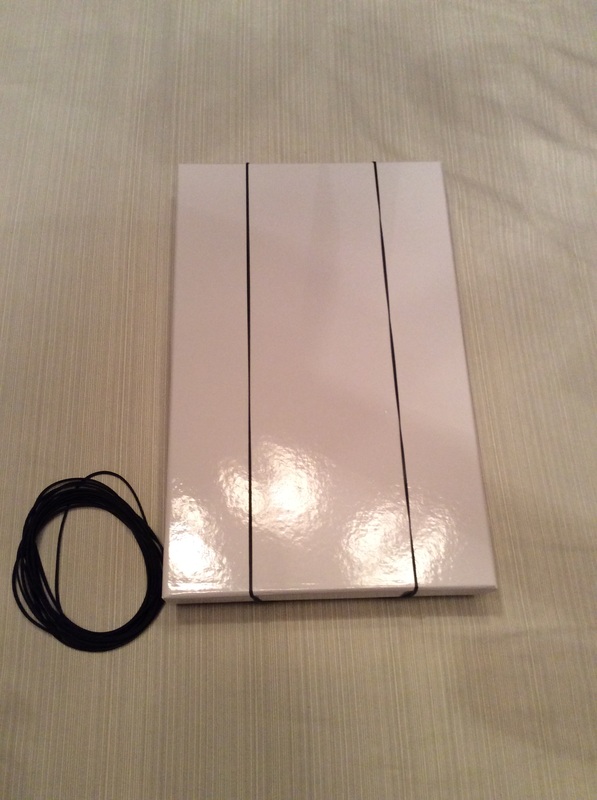
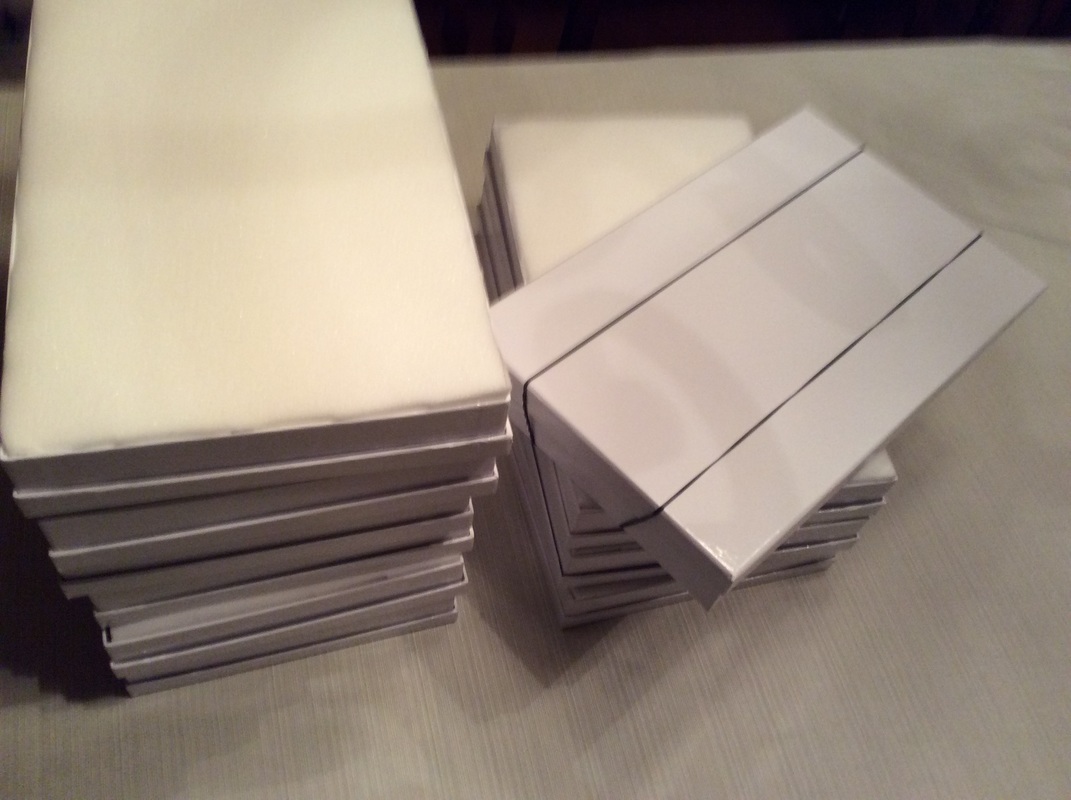
It was quite an honor to be among so many spectacular artists from all over the world. I enjoyed myself immensely while I was there in Albuquerque. The weather was perfect, the food fantastic, and the people were so hospitable and friendly. I can hardly wait to go back again. Thank you IAPS and Albuquerque for a wonderful, memorable trip. As a workshop teacher, the biggest problem I have had is getting my pastels to my workshop location without breaking my back or limiting what I can bring with me. I have an excellent and HUGE pastel box made of solid wood and it's gorgeous. But for teaching on the road, it weighs a ton and is a killer to haul up steps or for long distances. Further, many of my students come to class with few supplies or with limited color choices. With pastel, that can be frustrating so I often share my pastels. Because of that, I like to take most of my collection with me. For a few years I was limited to driving to my workshop events because of the sheer number of pastels I bring. I like driving but sometimes it's just so much more practical to fly. HOW DO YOU FLY WITH PASTELS? I know some artists do it but they always have a limited set of pastels and horror stories to go with their travel stories. I like sharing with students and I think it's important to introduce different brands so I bring as many pastels as I can with me. I got to thinking, would there be any way I could ship my pastels ahead of me to a workshop? The answer is YES! The photo below is a large chunk of what I take to workshops. Note each box contains basically one hue arranged by value. These boxes have lids that I fasten with strong large rubber bands. I then put all the boxes in one or two shipping boxes and send my little friends (insured) to my workshop location a day or two in advance of my arrival. NO BREAKAGE! NO PROBLEMS! Sure, there are things that could go wrong, but at least it offers me the option of flying and still having a nice collection of pastels to share. Pros: Lightweight Inexpensive Great pastel protection Easy to ship (inside another box with some bubble wrap) Easy to make One could fit in a suitcase or checked baggage Stackable and packable So, here is what I did: MATERIALS: Kitchen scissors Marker Large strong rubber bands-I got mine at The Container Store in town Premium Gift Boxes-I purchased high quality boxes from The Container Store, the 15 X 9.5 X 2(h) premium white gift boxes. These are surprisingly rugged boxes (haven't had to replace one yet). They have a glossy finish and are reasonably priced at $4.99 each. They come in other sizes and colors as well. 1" Memory Foam Mattress Topper-This was a bit difficult to find but I ended up lucking out at Overstock.com and found a 1-Inch Antimicrobial Memory Foam Mattress Topper for $39.00. I got the Twin XL size and I believe I was able to complete 10 boxes with one topper. 1. I unwrapped my mattress topper and left it out overnight. They come tightly packed so you have to let them expand for a few hours before attempting to cut them to size. 2. I placed one of the boxes at the corner of the mattress topper and traced the edges I needed to cut using the marker. 3. I cut the foam to size, (2) two pieces for each box. The foam cuts like butter with kitchen scissors. I was amazed. See the photo below which has a piece of foam on the bottom half of the box. 4. With foam on the bottom you can then begin placing your pastels on top of the foam. When you're finished, place a second piece of foam on the top and rubber band together! You'll notice there is just enough room to close the box so it's important to use the rubber bands to make sure the lid stays on. When I ship I put 4 rubber bands on each box, two horizontally and two vertically just to be safe. 5. I labeled my boxes by hue. I recommend labeling of some kind so you don't have to open the box to figure out what's in it!
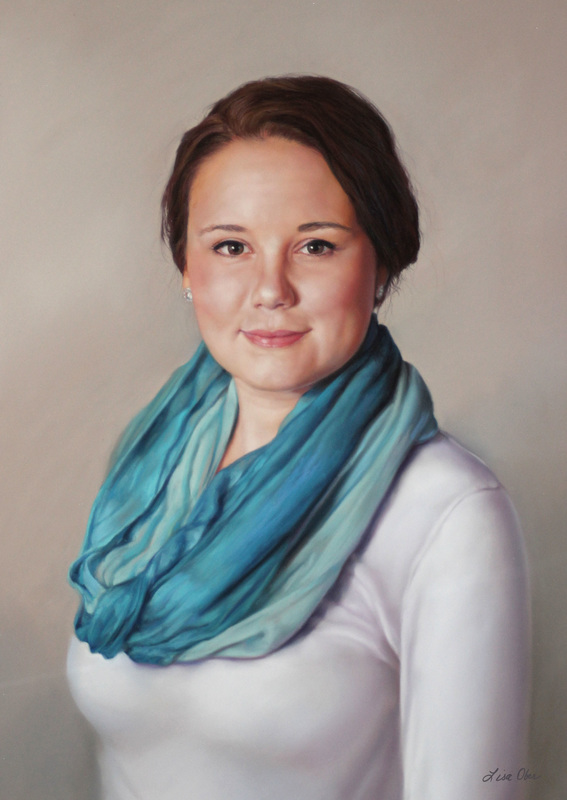
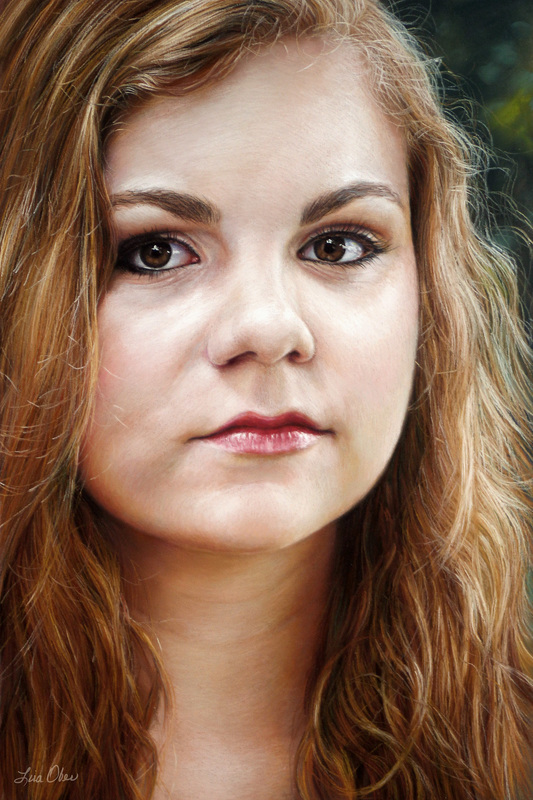
6. This kind of storage system is easy to work out of so I just plop the boxes on a table at home. They are really easy to store. They would also be great for small quantities of pastels. Maybe you only need one for that plein air paint out! Each box holds about 80 Unison sized pastels. Isn't that amazing? Let me know if you try this! I'd love to hear from you. This way of packing has saved more grief than I can put into words. I hope it works for you too! The Artist's Daughter 18 X 12 Pastel on Paper The Artist's Collection Most artists enjoy working from models but rarely get a chance to do so. For one thing, models need to be paid for their time but working from life is also a luxury reserved for those who have few time constraints. Fortunately, my daughter is readily available and every few years she gets to put up with yet another portrait project involving her. I enjoy painting her each time and marvel at the differences I see.
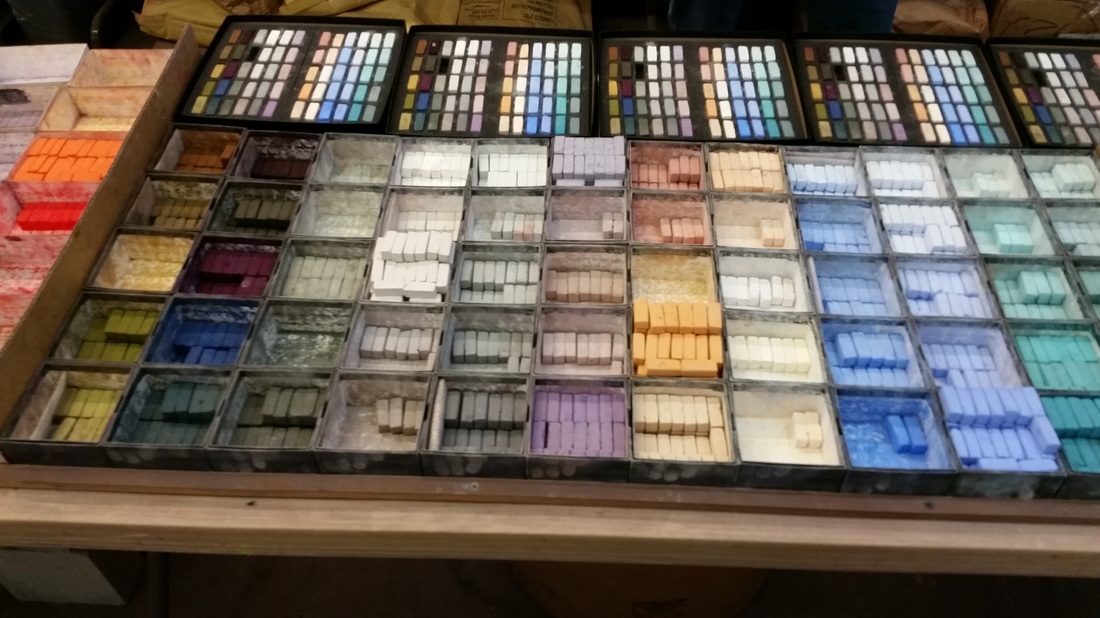
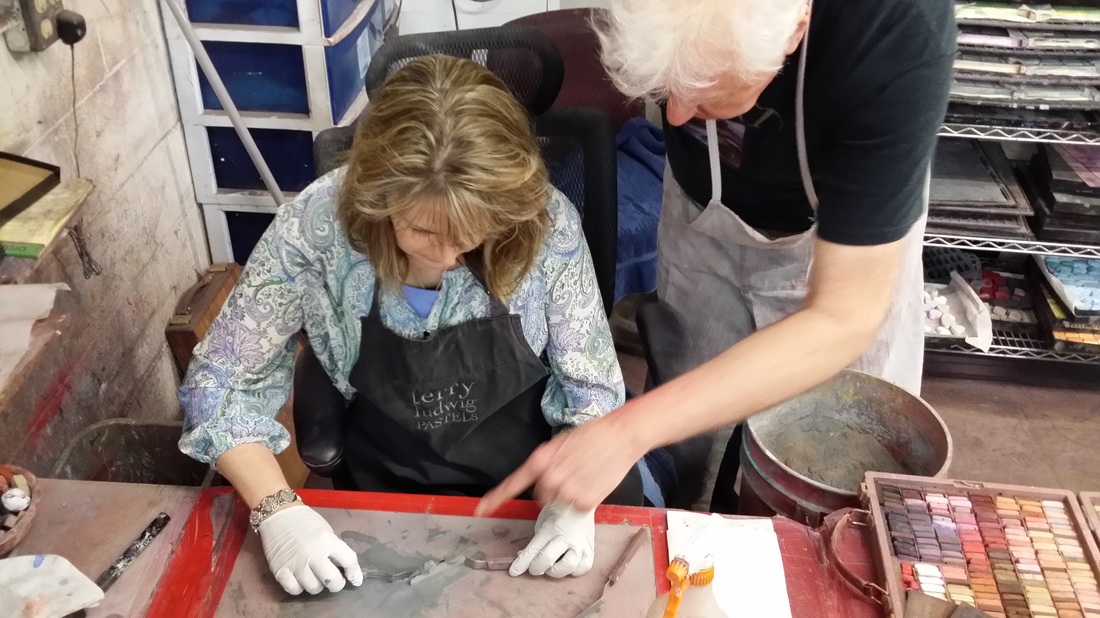
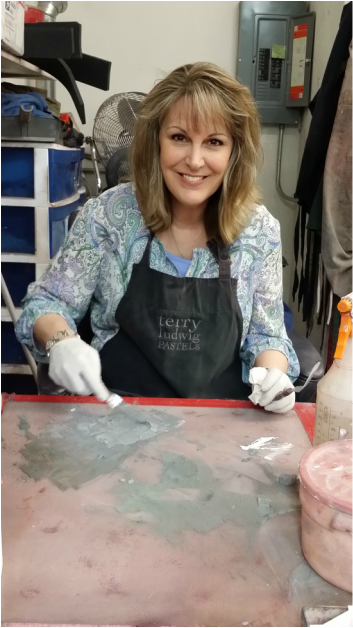
The other benefit to having a built in model is that it gives me the opportunity to try new techniques! And that is just what I was able to do with this portrait. Sticking My Neck Out 24 X 18 Pastel on Paper Available This is a piece began at the IAPS (International Association of Pastel Societies) convention in Albuquerque and finished up in the studio. Some new pastels acquired at the convention from Terry Ludwig, maker of extraordinary pastels, contributed to the vivid color in this piece. The nuances of the reflections made this one a true undertaking but the colorful and cheery result was worth the effort.
10 Things I've Learned as a Professional Artist: Part 1I've been a professional artist for 30 years. In case you're trying to add that up, I sold my first painting when I was only 5. (Not really, but I wouldn't want to give away my age would I?)
In all those years there were times of abundance as well as lean times. I've learned a few things, make a huge number of mistakes, and I have tried somethings that worked well. I thought I'd share them with you here. Following are my Top Ten lessons learned as a professional artist: 10. Isolation is not a good thing. While it may be tempting to spend all your time in the studio painting away, this isn't a good idea. Eventually you'll run out of ideas. You need to get out, meet people, see the world around you and experience life. This will lead to better art. I promise. 9. Artists are good people. They aren't necessarily competition. Some of the very best friends I've made over the years have been with other artists, very talented artists. Learn to celebrate the success of other artists! 8. The only way to get better at your art is to practice, practice, practice. B O R I N G, I know but absolutely true. Put in the time and effort needed to improve your skills and techniques. You will make mistakes, and create some real duds. Don't be discouraged. Just start the next work of art and keep going. The single biggest mistake you can make is to settle for less than your best. Do you see something that can be corrected? Correct it! Don't let your artwork find a home without the peace of mind that accompanies effort and working conscience. 7. Drawing is critical. Most experienced painters can tell when a painter lacks this fundamental. It is the foundation for painting and there is no shortcut to that. It is important to hone your drawing skills so you not only get the initial drawing correct, but to learn observation skills and teach yourself through experience how to see form. There are drawing classes available in every city and some excellent online resources as well. Consider taking a drawing course at a community college or university. It will be worth your time and effort to learn this crucial skill. 6. Technology is your friend. I know, I know. I can see you rolling your eyes already. But this is really true. In this day and age you must have a website and keep it current. Bite the bullet and make yourself a good website or hire someone to do it for you. Also, social media can be a great tool for getting your name recognized as well as networking with other artists. These things will pay off for you in the long run. Finally, the single best thing I did was to learn Photoshop well. It has saved me countless hours, dependency on others and tons of money. In the next post we'll finish the list, so be sure to check back. I'm interested to hear what you have learned also. Leave a comment with some tips, hints and tricks you've learned over the years. If you have any questions, I'd love to hear those too. Until next time... Happy Painting!
|
Categories
All
Lisa OberWelcome! I'm so glad you are here and I hope you find some of the information I have shared helpful. 
Interested in taking a workshop? Click here for a listing of where I am heading and join me for the fun!
|
Copyright 2023 Lisa Ober. All rights reserved. Duplication strictly prohibited.

