Choose an existing photo or take a new one!
It is best to use a professional quality photograph (make sure you have permission), but you may choose to provide your own photographs as well. Follow these suggestions to receive stunning results from your own photos whether you choose an existing photo or decide to take a new one.
How to choose a photo:
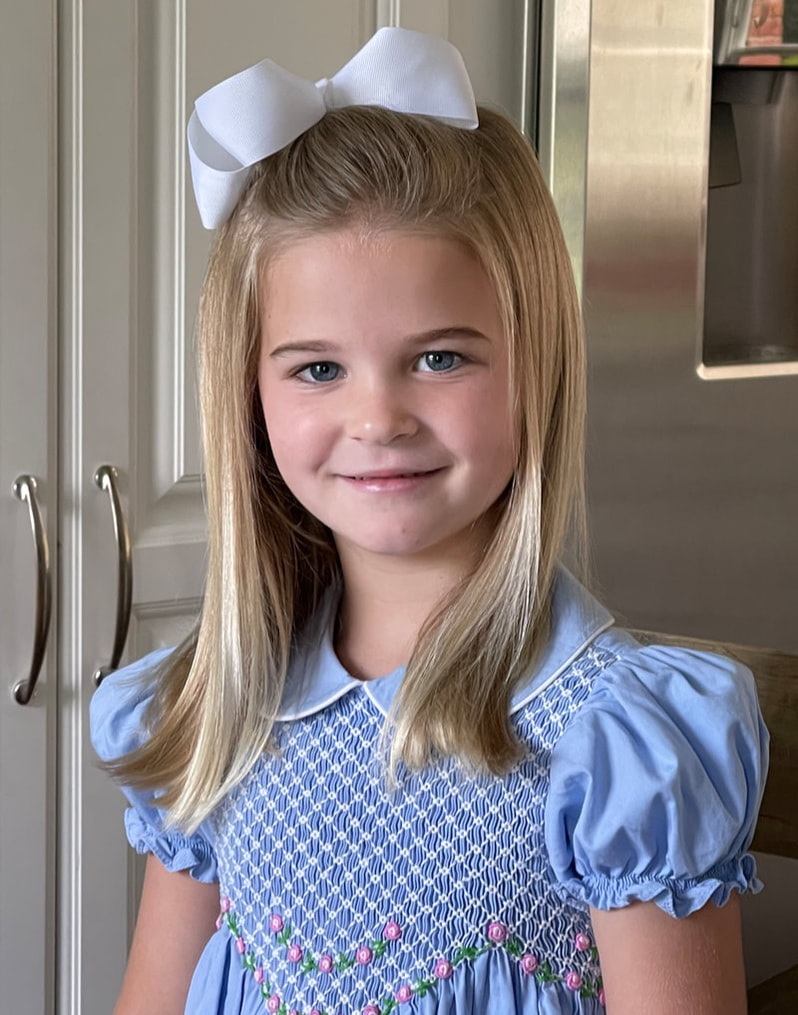
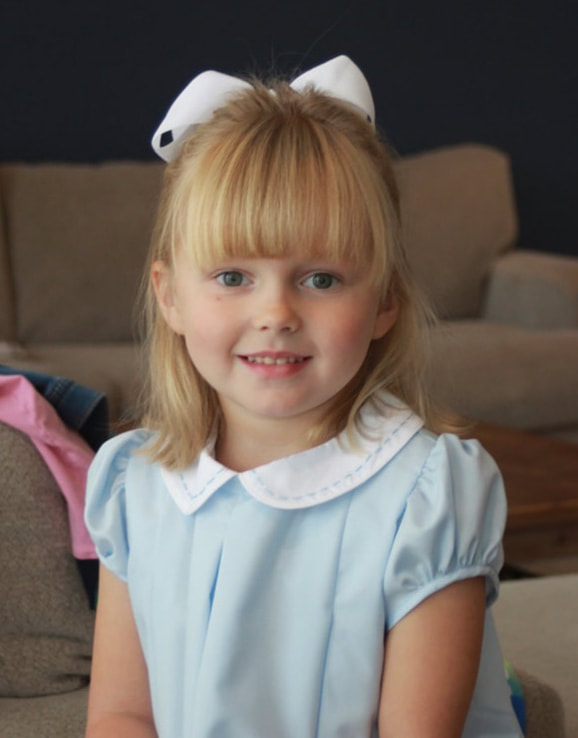
Choose a photo that is clear, close and in color.
Choose a facial expression you like. It is not possible to change facial expression. A smile with teeth showing in the photo will be a smile with teeth showing in your portrait.
The angle of your photo (the perspective the viewer sees) will be the same in your portrait as it is in the photograph. If you photo shows a profile (side) view then so will your portrait. Heads cannot be turned and angles cannot change.
Consider using a photograph that has a softer smile as opposed to a big grin. This gives your portrait a more traditional and timeless feel rather than looking like a snapshot. It will also ensure the eyes (the most important portion of a portrait--and the focal point) will be open and not squinting.
The subject should take up most of the photo (image area) so getting closer to the subject is better. Enlarging a photo taken from far away will not work.
If you can see eyelashes in your photograph then it is probably clear enough.
No Poloroid photos, please.
Isolating one individual from a group photo will not usually work.
You may include supplemental photos for size reference, color, clothing, or background details.
Taking your own photos rather than choosing one you already have? Here's how:
Position your camera or mobile phone so it is slightly higher than eye level with your subject, just a few inches.
Use a good digital camera or recent model mobile phone. I happen to use an iPhone and it does a great job!
Choose a simple setting with a simple background. A complicated background is distracting and can take the focus off the most important element...the subject!
A plain colored background, a simple chair, a window, or nice outdoor scene could be considered.
Do not use a flash feature. This washes out interesting details and creates a "flat" look to the photo.
Instead, try to use natural lighting. Window light works very well.
Avoid bright or direct sunlight or you will get "hot spots" in your photo and your subject might have to squint.
Have the light bathing about two thirds of the face. This will give a bit of a shadow on one side which makes for a far better portrait.
The subject should take up most of the image area (not too much background but nothing is cropped out of the photo such as the top of the head).
Take at least 50 photos. The wonderful thing about digital cameras and phones is that you can take as many photos as needed. Give yourself more choices! You've gone to the trouble to set up your photo shoot so take a lot of photos!
Eye color should be visible in your photo.
Hands, feet, and accessories should not be cut off in your photo if they are to be included in your portrait.
The more information I receive, the better your final portrait will be!
How to send photos to Lisa
Photographs can be sent via email, text, or a file sharing program such as Dropbox.
Please do not reduce the file size. The larger the file, the better.
I can view all file types. Please do not send PDF files.
Here are a few of sample photos with decent lighting:
Copyright 2023 Lisa Ober. All rights reserved. Duplication strictly prohibited.


